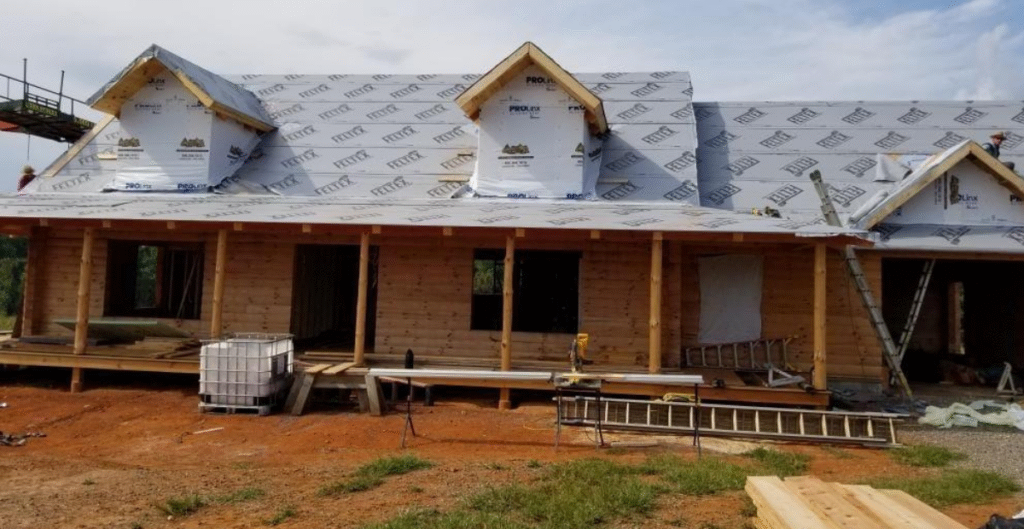
We thought we would start off our blog with a post about prepping and staining a new log home under construction!
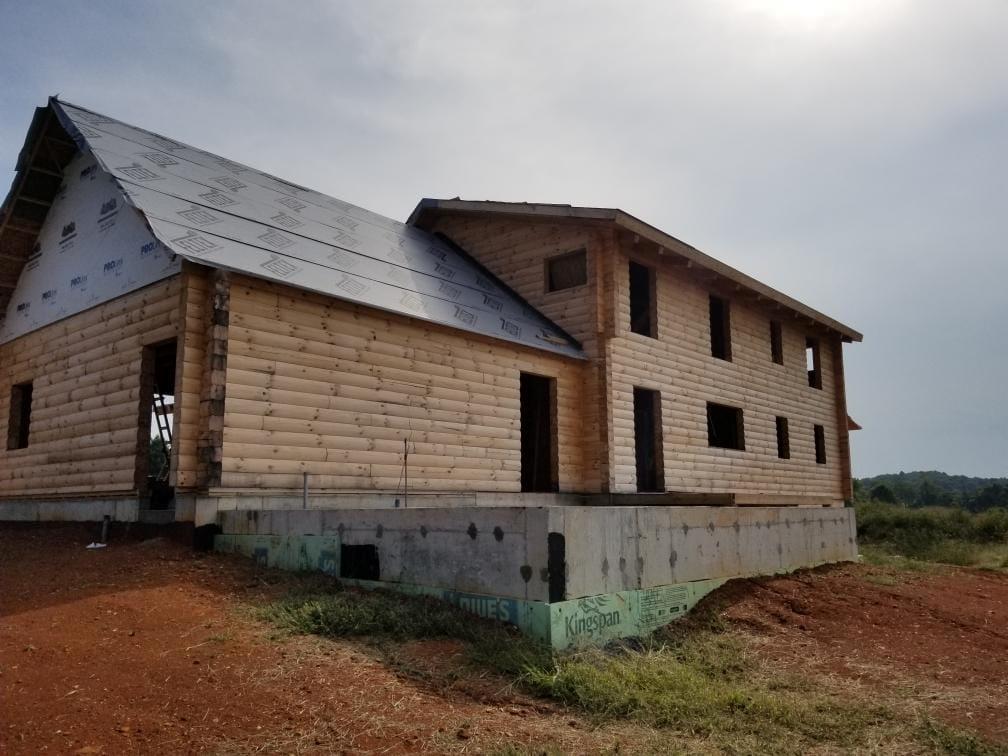
When the logs are delivered to the build site of your new custom log home, the first thing to remember is that it is very important to keep the logs covered and protected from the weather as much as possible until the construction on your new custom log home begins.
Unprotected logs can develop a number of issues including mildew or greying from the sun.
So, whether you are building it yourself or with the help of a contractor, keeping the logs protected until you start stacking them, will help keep you from having additional, unnecessary work down the road. Then when you are ready to clean and stain your home, the logs will look nice and new.
Prepping a New Custom Log Home for Staining
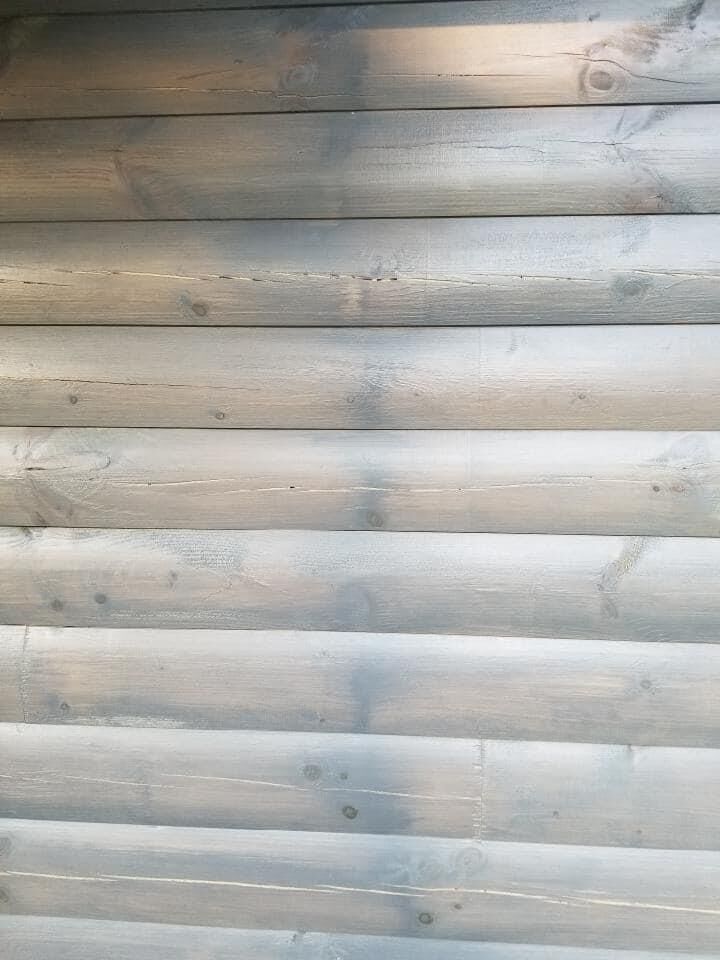
When you get ready to clean your logs, the most important thing to remember is to always follow the stain manufacturer’s recommended cleaning procedures. In addition to following proper cleaning procedures, there are two specific issues to watch for when cleaning: mildew and mill glaze.
Mildew
With mildew, even if you can’t see it, that doesn’t mean it’s not there. You want to make sure that you kill any possible mildew before you proceed with the staining.
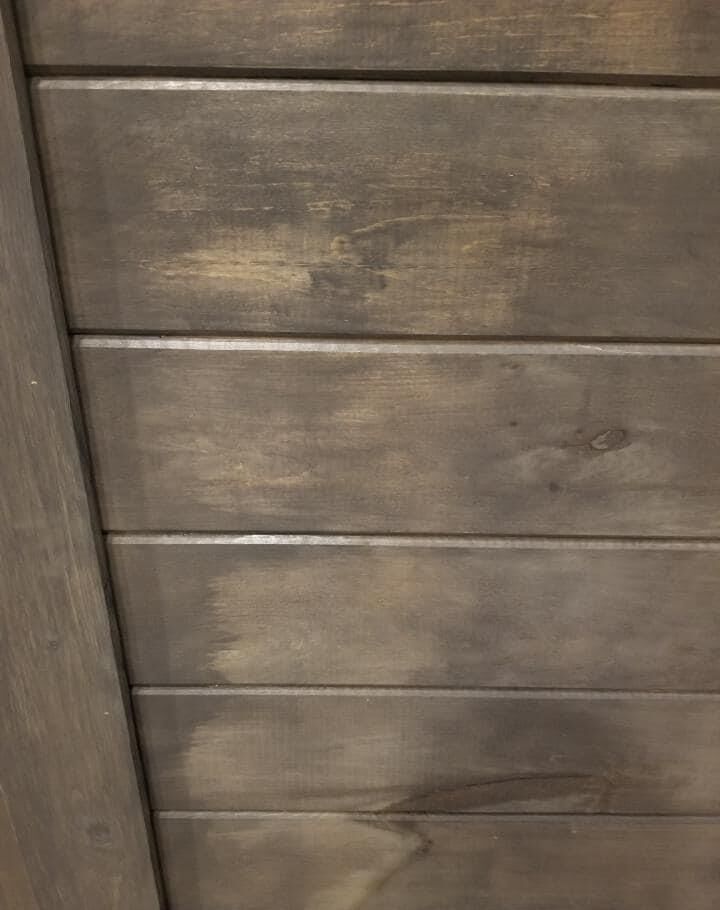
Mill Glaze & Staining
The next culprit we run into frequently is mill glaze. Mill glaze is created when the logs are being run through the mill to be shaped, which causes the pores of the wood to be closed.
Then, when the stain is applied to the logs, it will not be able to penetrate or bond with the wood. Instead, the stain lays on top of the wood, which can cause premature failure. Both of these issues, mildew and mill glaze, should be addressed before staining.
Once you have cleaned your home properly, then your logs will need to dry for several days to get the moisture content down before staining. Most stain manufacturers recommend a moisture content of 18 percent or less before applying the stain.
You can monitor the moisture with a moisture meter which you can buy at most home box stores. Once your moisture content is at the right level, then you can proceed with the staining. This will insure a successful stain for your new custom log home.
Once again, before you begin to stain, make sure you read the manufacturer’s recommendations and follow their instructions.
Stains can be very different from one another. Different stains require different cure times, and also different temperatures that the stain can be applied at. When you begin to apply the stain, start from the bottom logs, and work your way up. This will help ensure an even stain being applied to your new custom log home.
Staining a New Log Home
You want to make sure you keep a wet edge and stain the log from one end to the other end, before starting the next log, to prevent lap marks. If you have a two or three coat stain system, make sure you know ahead of time, the cure time that is needed before you apply the next coats of stain.
We hope this will help to get you started on the right track with prepping and staining your log home!
Sign Up today for our mailing list and stay in touch.We will have many more articles with additional information coming in the future!
